

Build a Local LLM-based RAG System for Your Personal Documents - Part 2
The Guide and the Code to building your own personal RAG System locally


Hallo hallo, meine Liebe! 👋
Welcome back to Part 2 of our journey to create a local LLM-based RAG (Retrieval-Augmented Generation) system. In Part 1, we introduced the vision: a privacy-friendly, high-tech way to manage your personal documents using state-of-the-art AI—all on your own machine.
In this blog, we’ll walk through the setup process, covering everything from installing Docker and configuring OpenSearch to integrating PyTesseract for document OCR and generating embeddings with SentenceTransformers. By the end, you’ll have a fully functional local RAG system that’s ready to handle all your document search needs.

This blog will build on the foundation we laid in Part 1, so if you’re just joining us, it’s worth giving that a quick read for context.

Now, let’s dive into the setup!
🛠️ Setting Up the Prerequisites
Before we go to the code, let’s get the tools we need. Each of these steps will help create the environment required to run our RAG system.
1. Install Docker
Docker is essential here because it allows us to run OpenSearch locally in an isolated environment. Docker will act as the backbone for storing, indexing, and retrieving embeddings.
Follow this installation guide to install Docker on your machine.
After installation, confirm Docker is running by typing in command prompt:
docker --version🎉 If Docker is up, you’re ready to roll!
2. Install Ollama
Ollama is a fantastic tool for running language models locally without requiring the cloud. With Ollama, you can play around with various LLMs to see which one suits your needs best.
Download and install Ollama from this link.
Confirm it’s working by running below in command prompt:
ollama --version🧪 Let’s experiment a bit with Ollama models
To make sure everything’s set up, try running a few models. You can play around with models like llama3.2:1b by typing:
ollama run llama3.2:1bChat a bit 😉
Want to explore more? Check out other models in the Ollama library. You can even use this Ollama chatbot to experiment with conversational AI.
3. Set Up OpenSearch and OpenSearch Dashboard
OpenSearch is our Vector DB where we’ll store our document embeddings, enabling powerful semantic search capabilities. We’ll use Docker to run both OpenSearch and its Dashboard locally.
Pull OpenSearch and OpenSearch Dashboard Images
To start, pull the Docker images for both OpenSearch and the OpenSearch Dashboard:
# OpenSearch 2.11
docker pull opensearchproject/opensearch:2.11.0

# OpenSearch Dashboard 2.11
docker pull opensearchproject/opensearch-dashboards:2.11.0
Run OpenSearch and Dashboard Containers
To start OpenSearch:
docker run -d --name opensearch \
  -p 9200:9200 -p 9600:9600 \
  -e "discovery.type=single-node" \
  -e "DISABLE_SECURITY_PLUGIN=true" \
  opensearchproject/opensearch:2.11.0
Then, to launch the Dashboard:
docker run -d --name opensearch-dashboards \
  -p 5601:5601 \
  --link opensearch:opensearch \
  -e "OPENSEARCH_HOSTS=http://opensearch:9200" \
  -e "DISABLE_SECURITY_DASHBOARDS_PLUGIN=true" \
  opensearchproject/opensearch-dashboards:2.11.0
Visit http://localhost:5601 in your browser to access the OpenSearch Dashboard. If you see the dashboard, you’re all set! 🎉
4. Enable Hybrid Search in OpenSearch
Hybrid search combines traditional search techniques (like BM25) with vector-based semantic search. This approach improves the accuracy of search results by leveraging both text relevance and embeddings.
To set up hybrid search, we’ll define a search pipeline in OpenSearch that normalizes and combines the scores from BM25 and KNN search.
Create a Hybrid Search Pipeline
Run the following command in your terminal:
curl -XPUT "http://localhost:9200/_search/pipeline/nlp-search-pipeline" -H 'Content-Type: application/json' -d'
{
  "description": "Post processor for hybrid search",
  "phase_results_processors": [
    {
      "normalization-processor": {
        "normalization": {
          "technique": "min_max"
        },
        "combination": {
          "technique": "arithmetic_mean",
          "parameters": {
            "weights": [
              0.3,
              0.7
            ]
          }
        }
      }
    }
  ]
}
'
Or, open the OpenSearch Dashboard, go to Dev Tools, paste the below JSON, and hit Run. This pipeline will be essential for blending the BM25 and semantic scores for improved search quality.
PUT /_search/pipeline/nlp-search-pipeline
{
  "description": "Post processor for hybrid search",
  "phase_results_processors": [
    {
      "normalization-processor": {
        "normalization": {
          "technique": "min_max"
        },
        "combination": {
          "technique": "arithmetic_mean",
          "parameters": {
            "weights": [
              0.3,
              0.7
            ]
          }
        }
      }
    }
  ]
}
For more details, check the OpenSearch docs on normalization processors. OpenSearch is coming up with many features to support RAG systems and you can check out documentation here.
For now we are keeping it simple.
5. Install Python 3.11 and Set Up Virtual Environment
We’re using Python 3.11 for this project. If it’s not installed, grab it here. To keep things clean, create a virtual environment for this project.
🚀 Setting Up the Code and Running the Application
With all our tools in place, let’s get the code and start building our local RAG system! Follow these steps to bring your AI-powered document assistant to life.
1. Clone the GitHub Repository
Get the code from our GitHub repo:
git clone https://github.com/JAMwithAI/build_your_local_RAG_system.git
cd build_your_local_RAG_system
This repository contains all the code we need, including a Streamlit app, setup files, and everything for OpenSearch integration.
2. Install Dependencies
With your virtual environment activated, install the required Python packages by running:
pip install -r requirements.txtThis will install all the necessary libraries, such as Streamlit for the UI, SentenceTransformer for embeddings, PyTesseract for OCR, and more.
3. Configure Constants in constants.py
Now it’s time to set up the key configuration options in src/constants.py. This file allows you to customize the RAG system to your specific needs. Here’s a quick guide to the main settings:
EMBEDDING_MODEL_PATH: Define the path to your chosen embedding model. We recommend downloading a model like sentence-transformers/all-mpnet-base-v2 from Hugging Face and saving it in a folder named embedding_model/. This reduces loading time when the app starts. Alternatively, you can set it to the Hugging Face model name e.g.:
EMBEDDING_MODEL_PATH= “sentence-transformers/all-mpnet-base-v2”EMBEDDING_DIMENSION: This is the dimensionality of the embedding model you’re using. For instance, if you’re using all-mpnet-base-v2, set this to 768. If you’re using a smaller model like all-MiniLM-L12-v2, you may set this to 384.
TEXT_CHUNK_SIZE: Defines the maximum number of characters per text chunk. A smaller chunk size like 300 can improve retrieval accuracy but may increase processing time. Adjust this based on the embedding model’s input size and the LLM’s context window and the nature of your documents.
OLLAMA_MODEL_NAME: Set the name of the LLM you want to use with Ollama. This could be something like "llama3.2:1b" or any model available in Ollama’s library.
Feel free to customize these constants based on your needs. These settings give you control over model selection, text chunking, and other core functionalities.
4. Launch the Streamlit Application
Now that everything is configured, let’s launch the application and see it in action! Run the following command:
streamlit run welcome.pyOpen your browser and navigate to http://localhost:8501 to access the app. Initially you need to wait for the background models to be loaded or downloaded for the first time. Once the models are loaded, the interface should now be ready for document uploads and queries. 🎉
🎉 Exploring the Application: A Tour of the Features
Congratulations! Your local RAG system is now up and running. Here’s how to make the most of it.
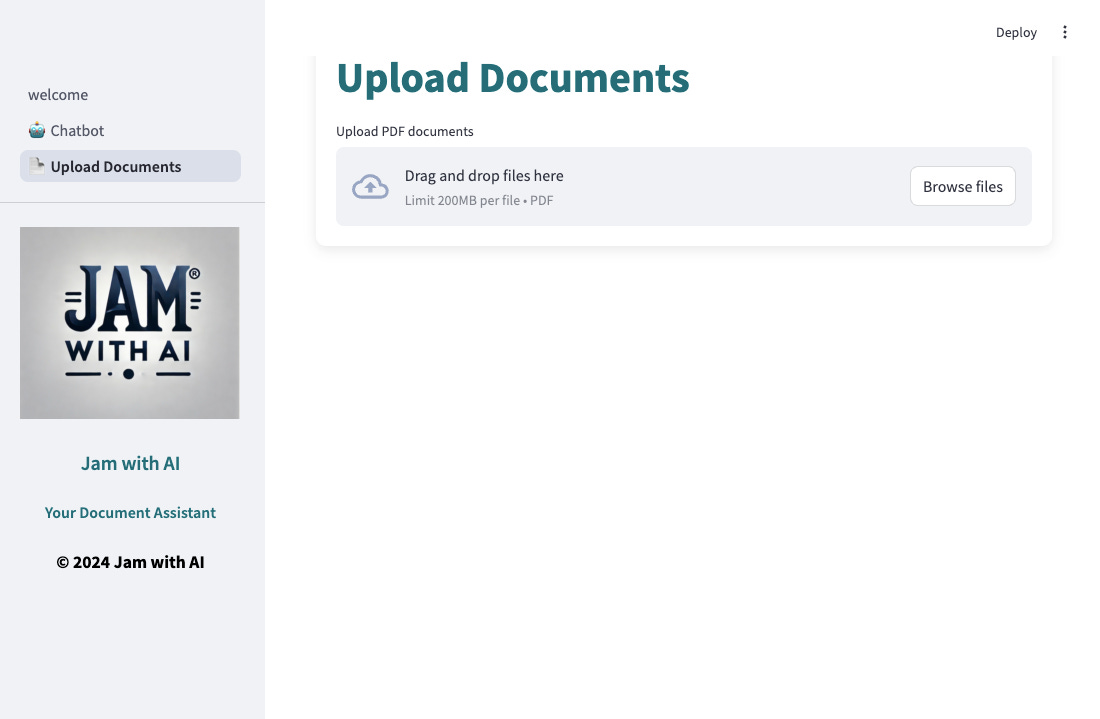
Uploading Documents
The first step is to upload your documents. Simply drag and drop a PDF file, and the system will handle everything from OCR to text chunking and embedding generation. These processed chunks and their embeddings are then indexed in OpenSearch for fast and accurate retrieval.
Interacting with the Chatbot
With your documents uploaded, you can now start interacting with the chatbot. This isn’t just a simple chat feature—it’s a powerful document assistant. You can ask questions about your documents, and the system will retrieve relevant chunks to inform the model’s response.
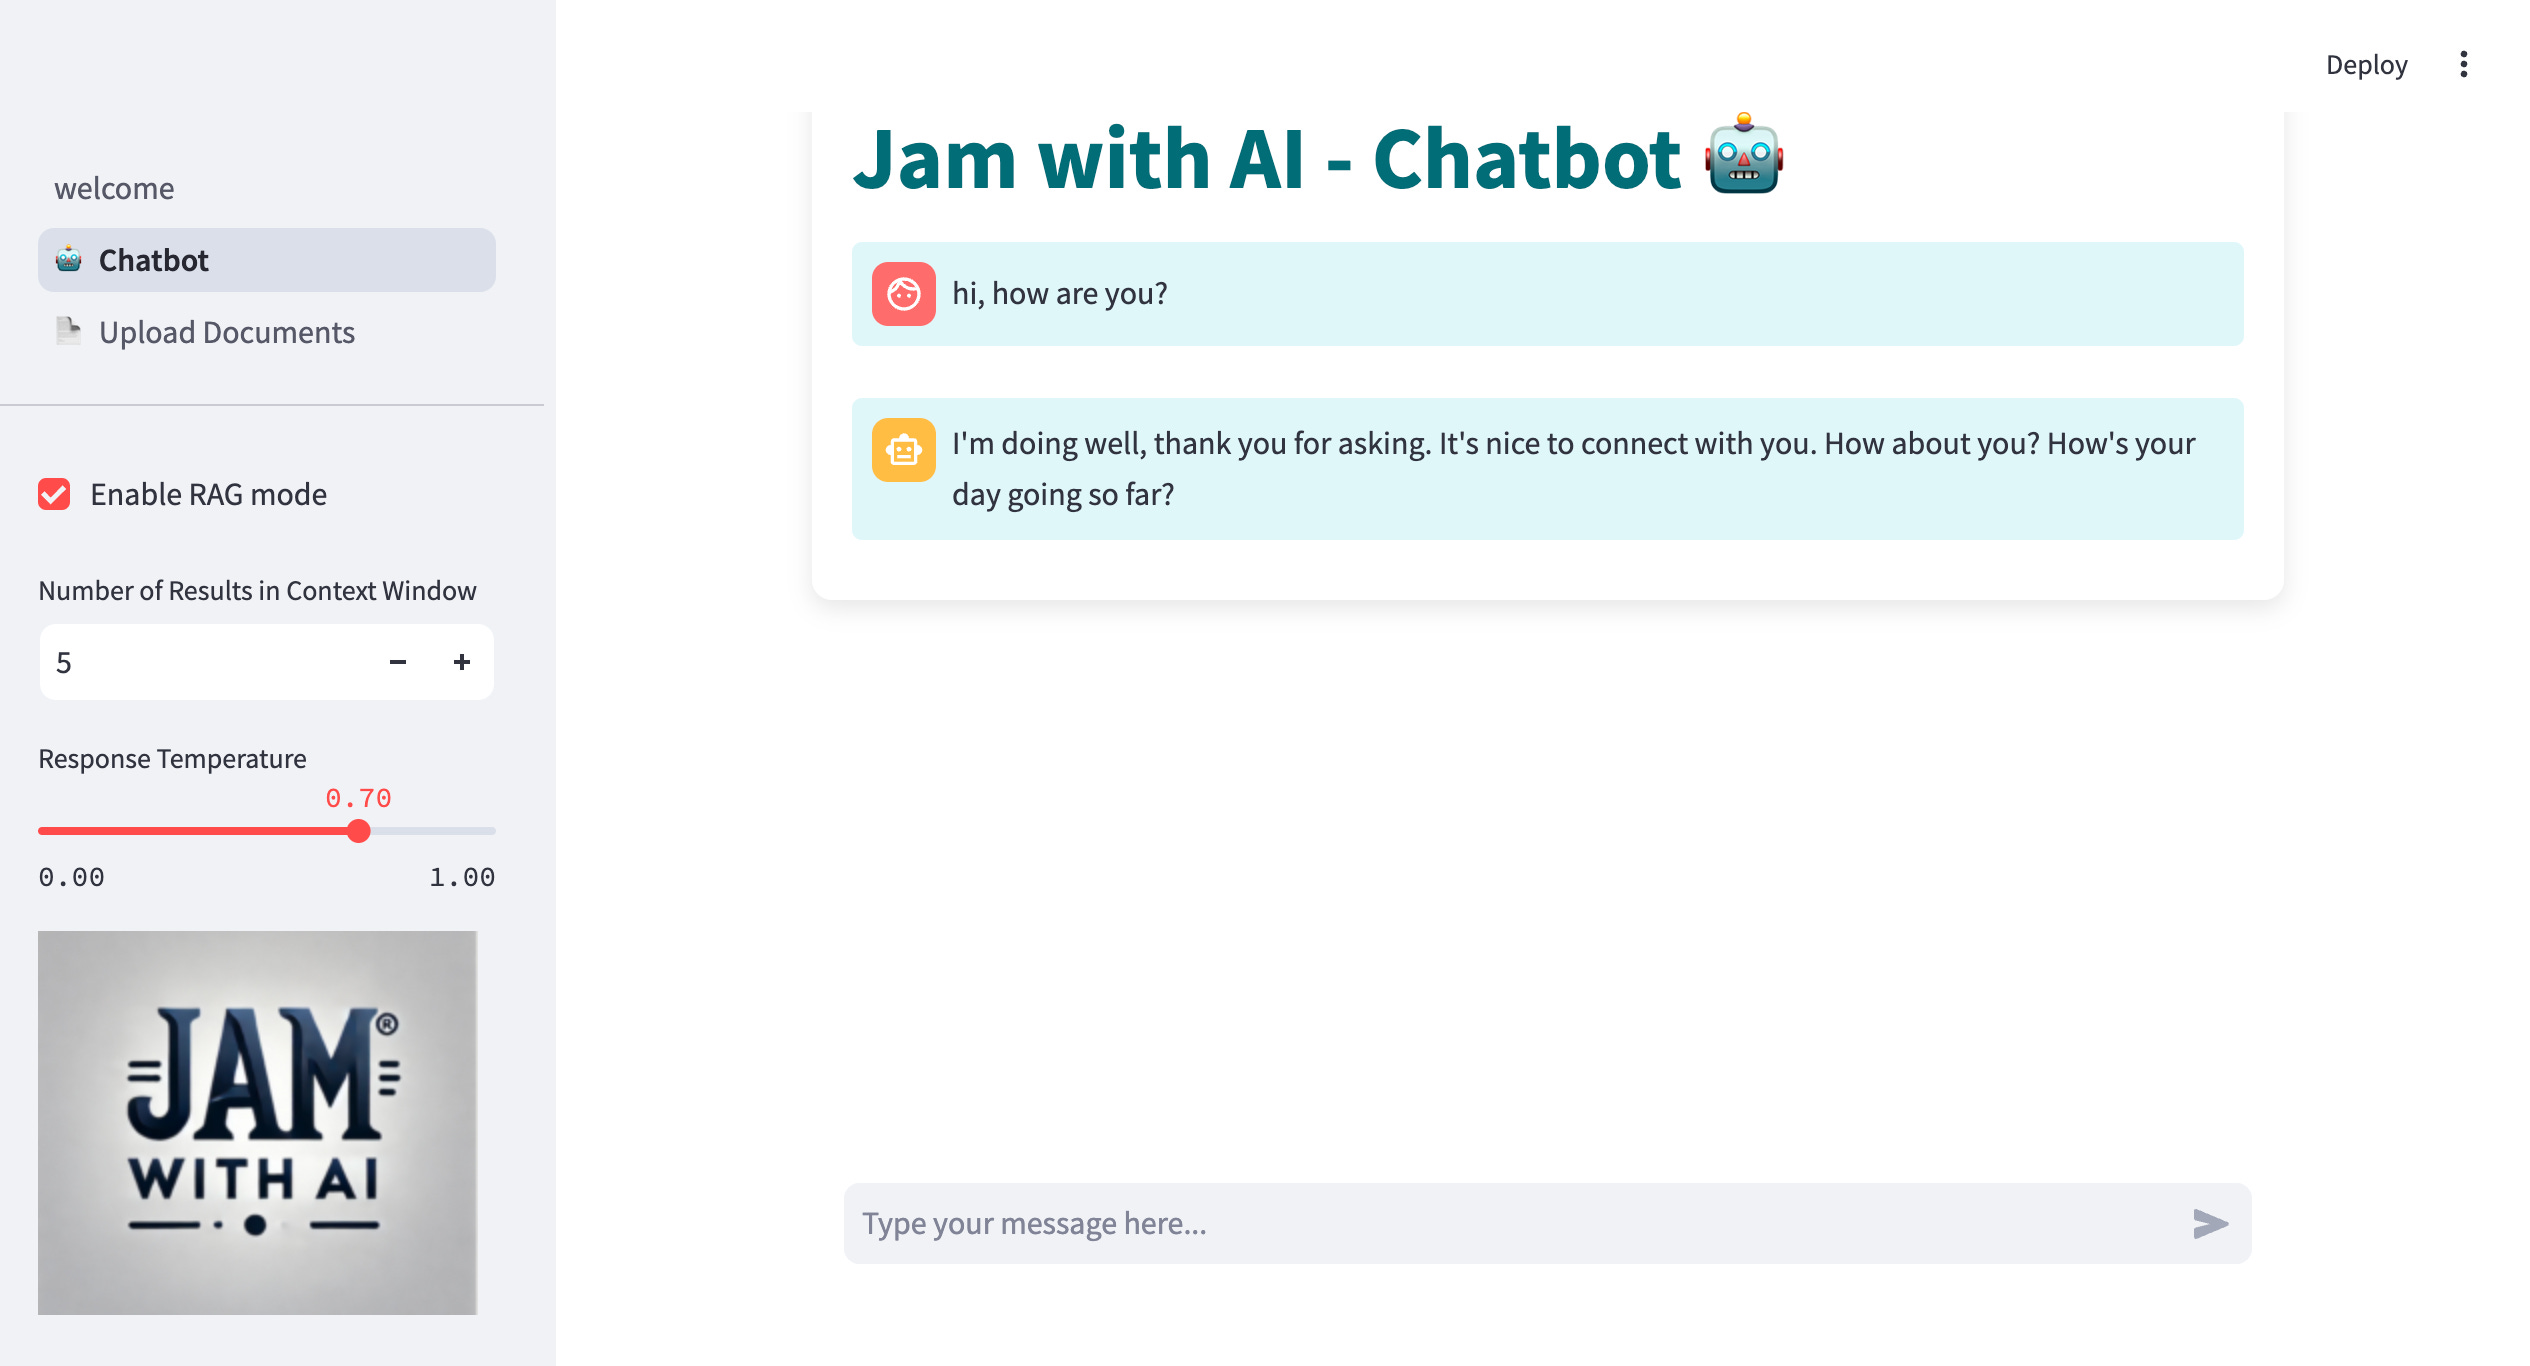
Enable RAG Mode: Check the box to turn on Retrieval-Augmented Generation, which means the LLM will use context from your documents to generate more accurate answers.
Adjust Search Settings: Try tweaking the number of top search results and temperature of the LLM. Experimenting with these settings can help you find the perfect balance between accuracy and creativity.
🔍 Conclusion: Advanced Customization Ideas
Congratulations on setting up your very own local, privacy-friendly RAG system! 🎉 But remember, what we’ve built here is just the beginning. This basic setup can be adapted and enhanced to meet a wide range of use cases, making it as complex or as focused as you need. Here are some exciting directions you could take this project:
Experiment with Larger LLMs: While smaller LLMs are fast and efficient, larger models can offer better contextual understanding and nuanced answers. Test out larger LLMs in Ollama to see how they handle your document queries.
Use Fine-Tuned or Specialized Embeddings: For improved retrieval accuracy, consider fine-tuning your embedding models or using models specifically designed for your business domain or language of the text. This could enhance the relevance of retrieved documents.
Customize OCR for Enhanced Text Extraction: The OCR process in src/ocr.py can be modified to use alternative OCR tools or preprocessing steps. If your documents include tables, graphs, or other complex structures, this could improve the quality of extracted text.
Experiment with Different Chunking Methods: Adjusting the chunking method in pages/upload_document.py can help refine how text is split, which impacts retrieval accuracy. For example, smaller chunks can be better for pinpointing specific information, while larger chunks may preserve more context.
Add Metadata to OpenSearch for Advanced Querying: Enhance the search experience by adding rich metadata, such as entity extraction, page numbers, document summaries, or author names. This metadata can be indexed in OpenSearch, enabling even more powerful and targeted searches.
Customize the Prompt Template: The prompt template in src/chat.py determines how context and chat history are structured for the LLM. Experiment with different prompt formats to guide the model in providing clearer, more relevant responses.
Redesign Your User Interface: Consider expanding beyond Streamlit by using more advanced UI frameworks for chat interfaces. For instance, check out Chatbot UI by McKay Wrigley, a React-based interface you can customize to enhance your user’s experience. This could give your application a polished, user-friendly interface tailored to your needs.
These are just some of the ways to extend the functionality of your RAG system. Whether it’s adapting the pipeline for specific business applications, enhancing the user interface, or integrating new ML techniques, the possibilities are endless. Use this setup as your framework and explore the full potential of combining LLMs with private document management.
With each customization and improvement, you’ll transform this basic framework into a tool that’s uniquely yours. Dive in, explore, and make it your own.
Happy building! 🎉
If you found this post useful or know someone who might benefit from building their own private RAG system, feel free to share it with your friends and community. Let’s spread the AI magic together by sharing this blog!
This is just the beginning, and we’re excited to take this journey with you. As we dive deeper into the world of AI, MLOps, and advanced Data Science solutions, we’ll be sharing even more complex and innovative projects with you.
Don’t forget to subscribe to Jam with AI for updates on our latest projects. We’re here to build and explore the power of AI—together. 🤘
may i run it on windows?
Hey! This is pretty awesome! This is the first time i have ever coded. Had multiple initial hiccups in setting up opensearch in docker but chatgpt and Gordon helped me. Thanks a tonne for doing this.